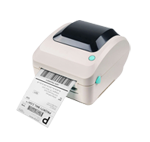
STEP #1 - Setup printer and print a test label for 4x6" sample shipping label
1.1 - Please follow below video on how to load labels and run calibration.
{module [166]}
STEP #2 - Choose the 4x6" layout / Orietation from Amazon.com to create proper size label
Watch and follow along with the video. This video specifically covers how to print shipping labels from Amazon.com seller central on Mac, it shows how to print PNG format; we recommand to use PDF format which it prints a better quality.
Common Issues
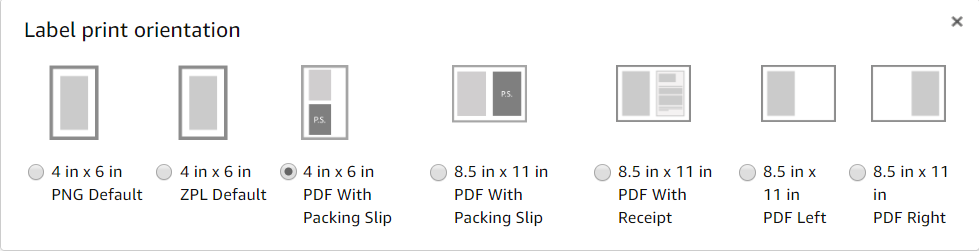
1. Don't see the option to change 4x6" label layout? On the 'Buy shipping' page of Amazon seller central, you would see an option 'Label print orientation' where you can choose '4 in x 6 in PNG Default', and '4 in x 6 in PDF with Packing Slip'.
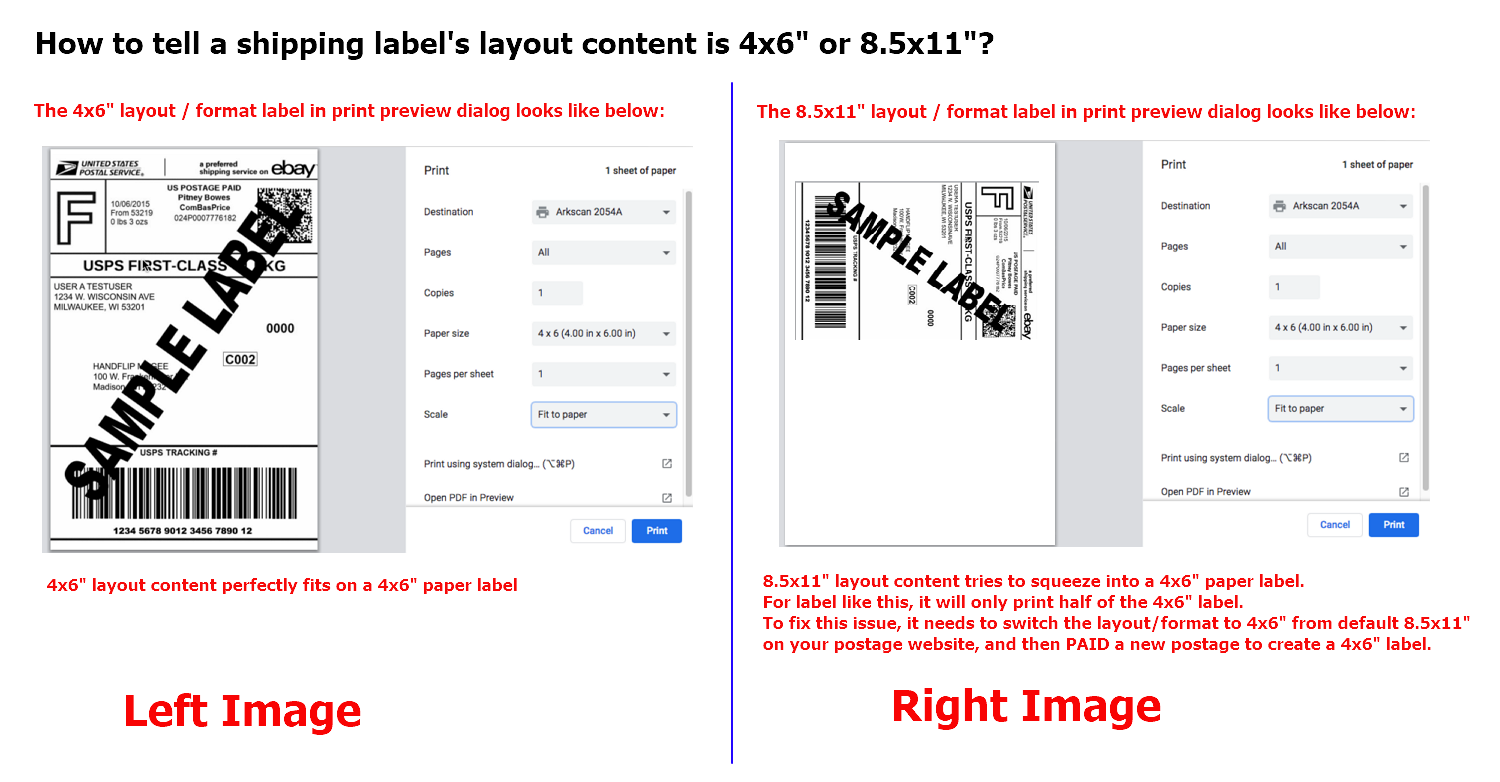
2. Printing incorrect layout (too small, or print more than one page)? You are probably trying to reprint a previous created 8.5x11" label orientation directly to the 4x6" label printer, or you have not changed the 'Label print orientation' yet. Since you can not print a 8.5x11" label orientation to 4x6" label printer. In order to fix it, you have to PAY a new label to get a correct 4x6" label generated AFTER switching to the 4x6" the 'Label print orientation'.
3. An 8.5x11" format lable was already created, and it can not be cancelled. Can it be still printed to the label printer? Yes, you can print it with an extra step by using Adobe PDF Reader software. See below for detail.